Price :
QTY :
CART TOTALS :
CART TOTALS :
You may also be interested in…


Your shopping bag is empty
Go to the shop“The quality of reading a guide is always understood after reading it, and we have tried to keep its simplicity and importance. Do read it for an extensive knowledge.”
Most expert landscapers could have their very own attempted and examined strategies which have worked well for them for years and as there are different variables to not forget while laying a patio, the system may also vary barely relying on who you ask. This manual is an excellent start line for a simple knowledge of the way to lay paving on a mortar bed.
Before Laying your patio
CUTTING
If your garden requires a lot of pruning, we recommend hiring an electric pruning tool with a diamond blade (each rental will let you know what machine and blade you need when you tell them what you intend to cut). Be careful and also make sure your rental shop provides you with full instructions and relevant safety gear, including goggles.
SELECTION
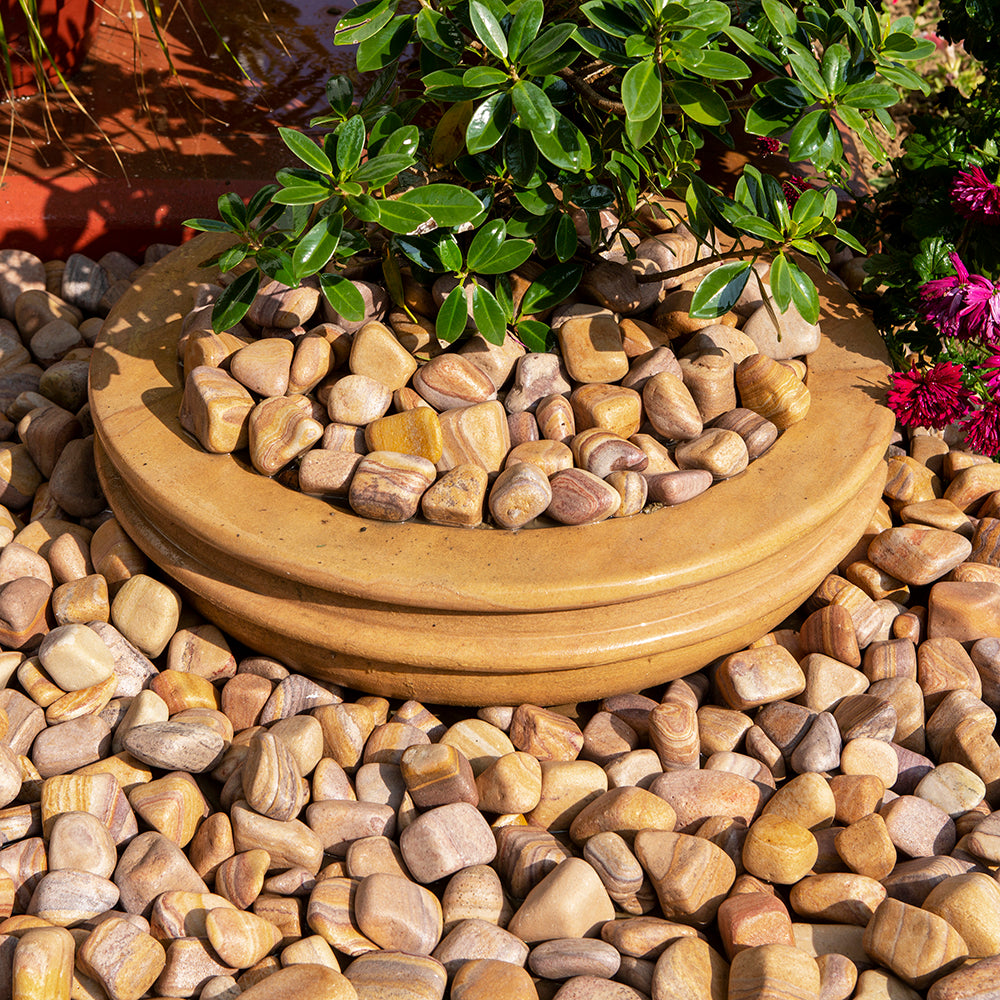
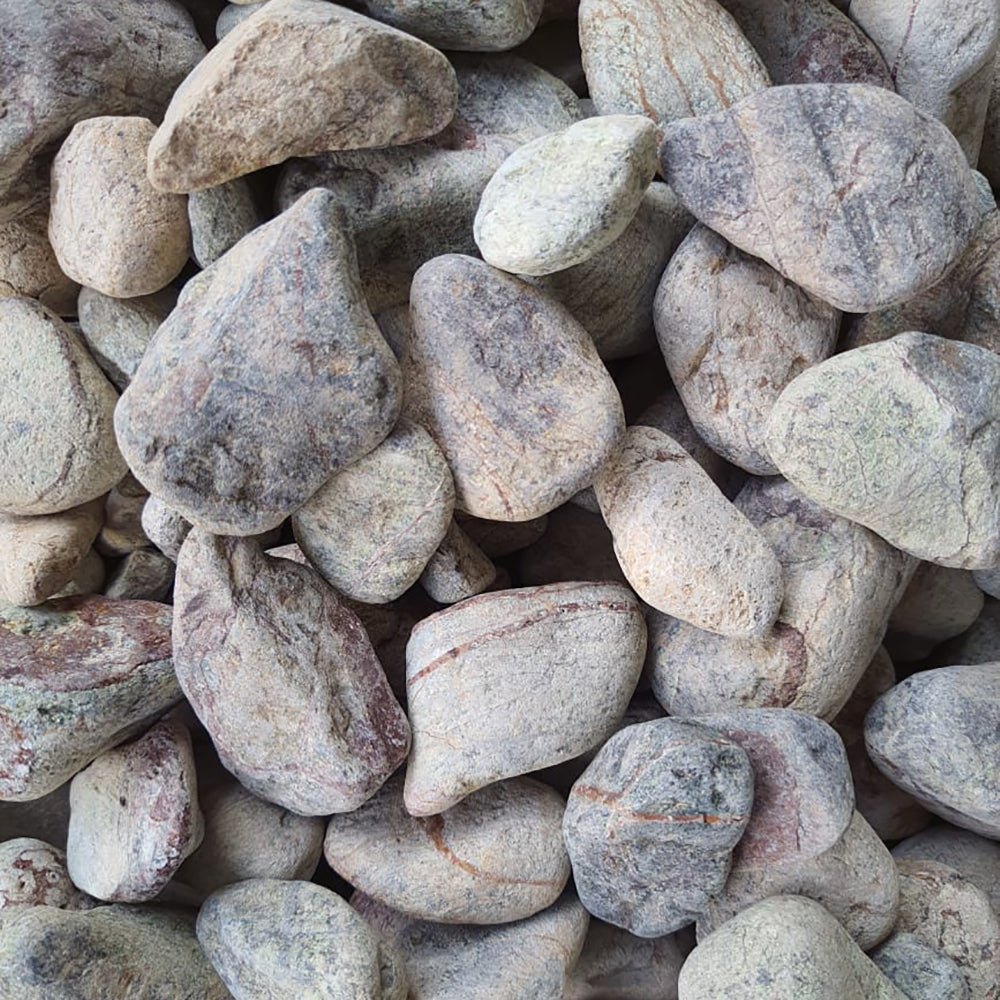
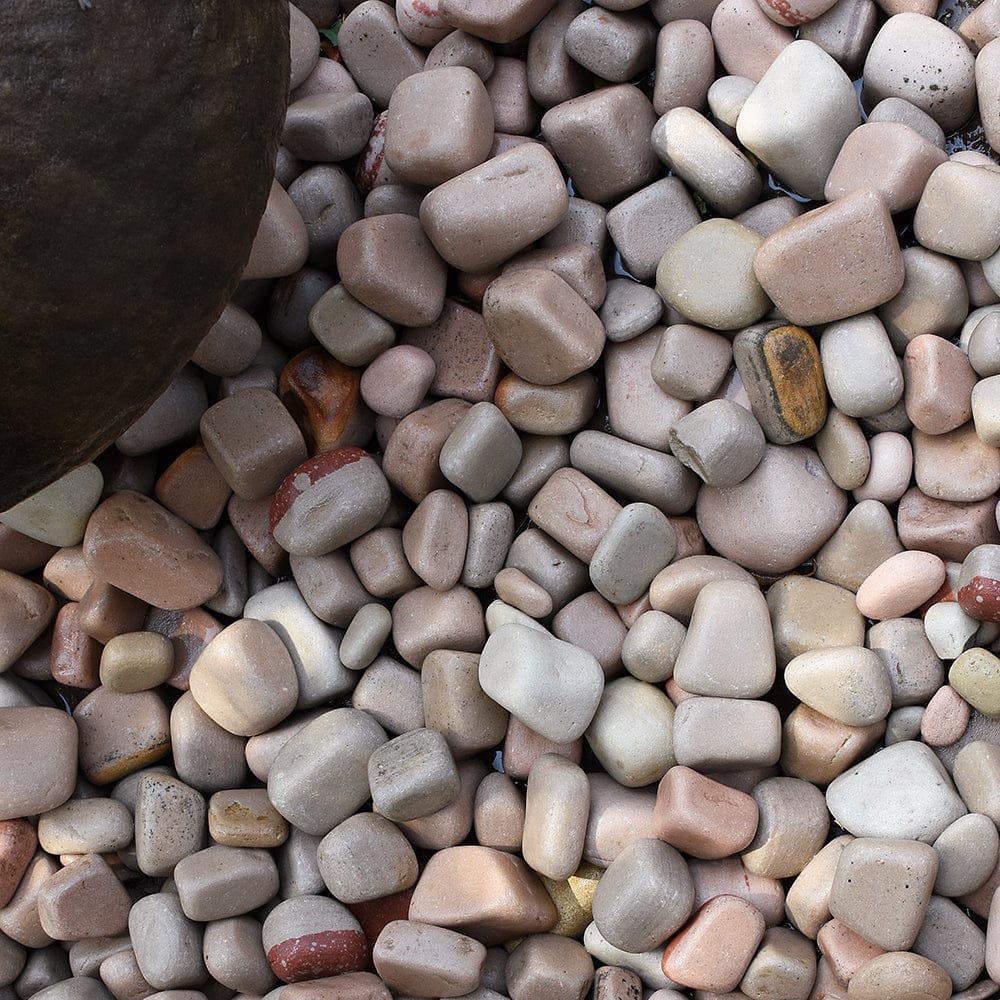
We advise you, during each laying of natural stone, to mix the floor of 3-4 different packs (if possible) when laying the terrace. This allows colours to blend and improves shade variations that can eventuate between packs, offering your deck a more natural appearance.
DRAINAGE
To ensure that any water on the surface drains properly, flagstones should be laid to the falls. A fall of 1:60 is recommended, which is equitable to 17mm per linear metre. This is enough to dry up the paving without making it evidently sloped.
PREPARATION
To a required depth 65mm, the paved area must be resolved of all vegetation and topsoil beforehand.
Remember that natural stone paving slab should always be arranged at least 150mm lower than any adjacent building's Damp Proof Course (DPC).
Use taut string lines as alignment and surface levelling guides. These can be attached to ground pegs or nails driven into masonry. To check for level, place string lines along the pavement's edges and then use a long timber straight-edge to stretch from the flags to the string lines.
MORTAR MIXING
The flags must be placed on a full mortar bed. This means that the bed beneath each piece extends all the way beneath the flagstone, with no gaping holes or voids. Some inexperienced installers lay flags on 'spots' of mortar, which we do not recommend because these spots do not provide full support to the flags and frequently cause issues in the months ahead.
The mortar has to be a mixture of four parts sharp sand and one-part cement, mixed to a moist but not overly wet consistency.
Wet mortar might be a sloppy mess. Light-colored flagstones, especially those made of granite, are prone to discoloration when laid on mortars made of strongly coloured sand, namely the orangey sands common in SE England.
We recommend preparing the laying mortar for these flagstones with 6 parts neutral coloured sand (often sold as "Silver Sand") and 1-part white cement.
This will reduce the risk of discoloration while also ensuring that your fresh paving is correctly bedded and supported.
The mortar bed should be between 35mm and 60mm thick. Where the mortar is thicker than this, or where levels need to be built up, crushed stone such as Type 1 should be used, which is readily available at most Builders Merchants. Aim for a fairly consistent bed thickness throughout.
To make the mortar, it's ideal to choose a powered mixer.
If necessary, these can be employed locally. They make quick work of the mixing and free up your energy for laying the flags rather than blending sand and cement.
Only make as much bedding mortar as you will need in 30-60 minutes. Mortar hardens as shortly as it is mixed, and in warm weather, it can become 'stiff' and unworkable in as little as 20 minutes.
When mixing mortar, make sure to wear safety glasses and gloves. Because cement is highly alkaline when wet, dust or mortar spatters can harm your eyes and skin. Wear long-sleeved clothing and immediately wash any splashes with clean water. Wearing protective gloves at all times will protect your hands from abrasive wear while trying to handle tools and flagstones.
How to Lay the Flags
Things you will require
• Lump hammer
• Sweeping brush
• Rubber mallet
• String lines
• Wheelbarrow
• Fastening line with wooden pegs or steel pins
• Brick and/or pointing trowel
• Cement Mixer
• Spirit level
• Timber Straight-edges 2.4 – 3.6m long
• Gloves for protection
• Eye protection glasses
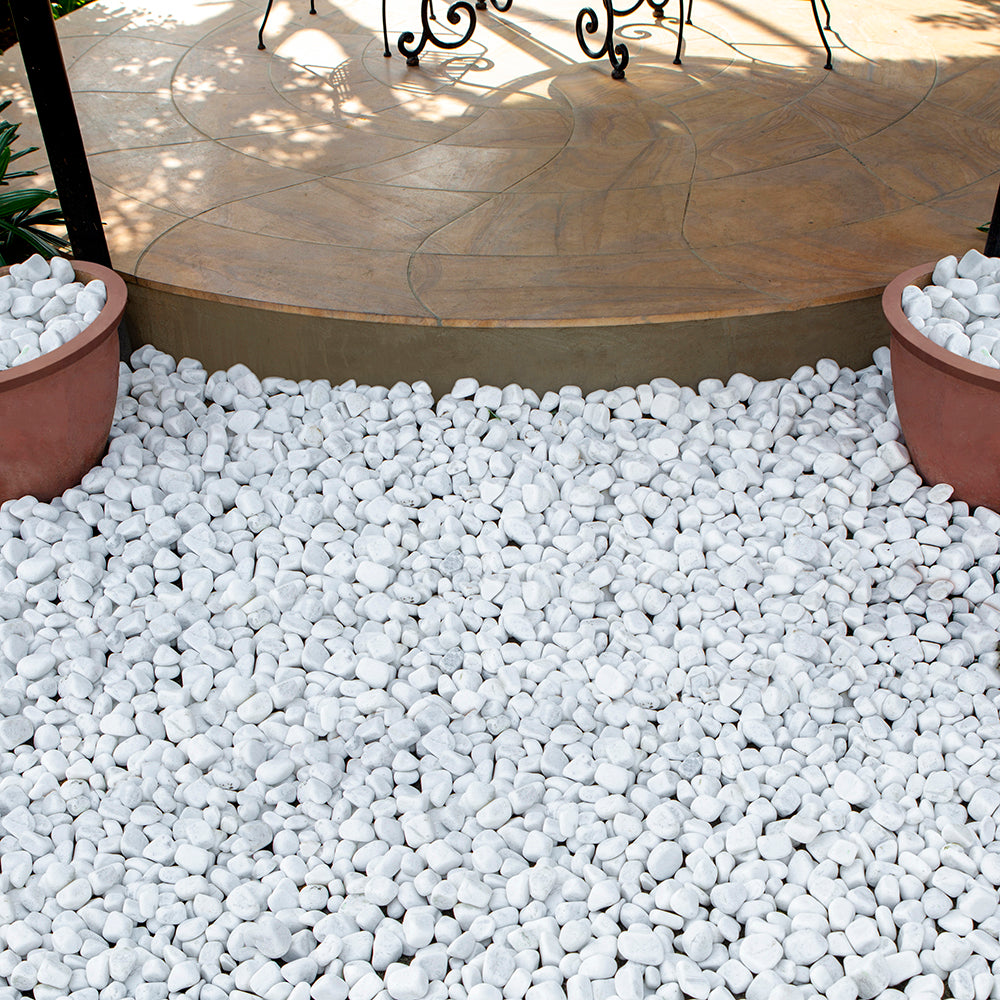
TSF's flagstone is ideal for patios, paths, and courtyards, and we've included installation instructions to help you get many years of trouble-free service.
Installation tips like this can never be all-inclusive for every project, so we recommend that you seek professional on-site advice for any particular issues that you may face.
Utilizing a block or pointing scoop, spread the mortar over an area roughly 100mm longer and more extensive than the flag to be laid. Swell the outer layer of the bed with the mark of the scoop so there will be some give once the banner is put onto the mortar.
Place the flag in place and cautiously lower it onto the bed. When lifting and lowering larger flags (600x600mm or larger), it is best to have an assistant assist you. Once in place, the flag should be 5-10mm high before being pressed down to the correct level with the rubber mallet.
Don't strike the paver stones at the edges or exactly in the centre. This has the chance of breaking the flagstone and, even if it does not, usually results in uneven laying.
Look for the points that are roughly midway between the centre and the edges, and instead of powerful hits, employ a series of mild yet strong taps. Tap one edge once or twice, then the opposing edge, alternating as needed until the flag is at the proper height.
You may need to raise the flag out of the bed and eliminate some of the bedding mortar if it is not sliding down on the bed. When removing the flagstone from the bed, be careful not to let the bedding mortar stain the flagstone edges. Similarly, if the flag is too low, you may have to add mortar to the bed to bring it back up to the proper height.
Check that the flag is falling in the correct direction and is at the proper level with a spirit level and/or a straight edge. Before moving on to preparing a bed for the following flag, double-check that the flag is correct. Remember to leave enough room for jointing. After the bed mortar has hardened (typically 24-48 hours), many flagstones have a 10-15mm wide joint that can be filled with mortar or a resin-based jointing agent. Some joints may need to be 8-12mm wide, while others may need to be 15-18mm wide, depending on the pattern.
This isn't a big deal, but it's something to keep in mind when putting up the flags. As the laying progresses, you may need to modify the breadth of some joints.
Between neighbouring flagstones, there should be no major 'lips.' They should be nearly level (+/-2mm) with one another. You may wish to add the mortar bedding up the edge of the flagstones at the margins of the paving (i.e. where the flagstones would rest against grass or flower beds, etc.) to prevent them from shifting sideways.
Flagstones were originally joined together using cement mortar. This would be prepared with a 3:1 mix of construction sand (softer and less coarse than the bed mortar) and cement, however as previously stated, when working with light-colored sandstones and granites, silver sand with white cement is generally used.
The jointing mortar is blended to a stiffer texture than the bed mortar and then placed into the joint with a short-pointed trowel blade. Packing it into the joint with a pointing trowel or a special 'pointing iron' that produces a flat or semi-round profile. It takes a lot of attention to make sure the mortar doesn't discolour the margins of the flagstones, and it can take a long time for individuals who aren't used to it.
To unite flagstones, many contractors now employ resin-based or polymeric mortars. These are simply brushed into the joints, with any excess sweeping away. Because the resin is fully transparent, it will not stain the flagstones permanently.
A slightly shiny coating or residue may be left on the flagstone surface from time to time, but this will wear away in a few days. These resin or polymeric mortars are more expensive than sand/cement mortars, but they are very easy to use, very rapid, and they don't stain, even with light-coloured and/or granite flagstone, so they might be worth considering.
SEALANTS & COLOR ENHANCERS
Some people love the look of their pavement when it's damp or wet, because the rain brings out the stone's natural colour. This appearance may be maintained indefinitely by applying high-quality colour enhancers, so rather than a jack-of-all-trades product, choose one that is particular to your material. Before applying the colour enhancer to the entire pavement, try it on a spare flagstone or sett or in a hidden area. Allow it to settle and set for a few days, as the character of the product can vary as it heals.
While color enhancers can improve the appearance of the stone, sealants can enhance the color while also protecting it from staining and lichen colonization. Sealants come in a wide range of chemicals and appearances, both in terms of how they're made and how they look when they're finished.
It's important to understand that sealants can only ever be used on completely dry paving. Any dampness on the pavement surface or within the sealant cures and, in certain situations, causes an unsightly milky white discoloration that may only be rectified by chemically removing the sealer. As a result, sealing should be done only during the hotter, drier summer months. If the paving was installed in the winter or spring, it may be a smart option to have it cleaned before sealing, but be sure to let it dry completely before applying the sealer according to the manufacturer's directions.
Please note that the TSF Stones will not be held liable for any mortar staining, cutting, or difficulties that occur during the installation of their sandstone and limestone.
success
Thanks For Your Submission
OKAYGet to know about new collections and exclusive offers. Sign up for email alerts.